It was a crisp autumn afternoon when I first discovered the magic of sweet‑potato pierogi. The kitchen was bathed in golden light, and the scent of simmering onions mingled with the earthy perfume of roasted sweet potatoes, drifting through the house like an invitation. I remember pulling the pot off the stove and hearing the soft, satisfied sigh of the dough as it folded over the velvety filling—an almost musical “pop” that told me I was on the right track. That moment, the simple act of folding dough around a sweet, creamy heart, sparked a tradition that has now become a beloved family ritual, especially when the days grow shorter and we crave something warm and comforting.
What makes this pierogi recipe truly irresistible is the marriage of sweet potato’s natural caramel‑like sweetness with the tangy, slightly grainy texture of Polish farmer’s cheese. When you bite into a perfectly cooked pieróg, the outer skin gives a gentle snap, then yields to a melt‑in‑your‑mouth filling that feels like a hug from the inside. Imagine the contrast: the buttery, golden crust against the silky, subtly spiced interior that whispers of nutmeg and a hint of caramelized onion. It’s a flavor dance that feels both nostalgic and fresh, a dish that can transport you back to a cozy kitchen in Kraków while still feeling contemporary enough for today’s dinner table.
But there’s more than just taste at play. This recipe is a celebration of technique, patience, and the joy of making something from scratch. From kneading the dough until it’s smooth and elastic, to mastering the art of the perfect seal, each step is an opportunity to connect with centuries‑old culinary traditions. And if you’ve ever wondered why restaurant pierogi sometimes feel a little flat or lack that authentic bite, the answer lies in the details—details I’m about to share with you. Trust me, once you understand the little secrets, you’ll never settle for a store‑bought version again.
Here’s the thing: the secret to that unforgettable flavor isn’t a hidden ingredient; it’s the way we treat each component, from choosing the right sweet potatoes to letting the dough rest just long enough. I’ll walk you through every nuance, and I promise you’ll finish this article with a recipe you’ll want to make again and again. The best part? You’ll have a dish that’s as versatile as it is delicious—perfect for a family dinner, a holiday gathering, or even a casual brunch with friends. Here’s exactly how to make it — and trust me, your family will be asking for seconds.
🌟 Why This Recipe Works
- Flavor Depth: The sweet potato brings a natural caramel sweetness that pairs beautifully with the tangy farmer’s cheese, creating layers of taste that deepen with each bite. The subtle hint of nutmeg adds a warm, aromatic finish that lingers on the palate.
- Texture Harmony: A tender, slightly chewy dough contrasts with a creamy, buttery filling, delivering a satisfying mouthfeel that keeps you reaching for more. The dough’s elasticity ensures a smooth seal, preventing any filling from escaping.
- Ease of Execution: While the technique feels traditional, each step is broken down into manageable tasks that even a beginner can master with a little patience. The ingredients are pantry‑friendly, meaning you won’t need a specialty store run.
- Time Efficiency: The total hands‑on time is under 45 minutes, and while the dough rests, you can prep the filling, making the process feel seamless rather than overwhelming.
- Versatility: This base recipe can be adapted for sweet or savory variations, allowing you to experiment with different cheeses, herbs, or even a touch of fruit for a dessert twist.
- Nutrition Boost: Sweet potatoes are rich in beta‑carotene, fiber, and vitamins, while farmer’s cheese adds protein and calcium, making these pierogi a balanced comfort food.
- Ingredient Quality: By using fresh, high‑quality produce and authentic Polish cheese, you elevate the dish from everyday to extraordinary, turning simple ingredients into a culinary celebration.
- Crowd‑Pleasing Factor: Whether you serve them as an appetizer, main course, or side, these pierogi have a universal appeal that delights both kids and adults, making them a reliable star at any gathering.
🥗 Ingredients Breakdown
The Foundation: Dough Essentials
The dough is the canvas on which the entire pierogi masterpiece is painted. All‑purpose flour provides the structure, while the egg adds richness and helps bind the mixture together. Warm water activates the gluten, giving the dough that coveted elasticity, and a pinch of salt enhances flavor from the inside out. If you’re looking for a gluten‑free version, you can swap half the flour for a fine rice flour blend, but be prepared for a slightly different texture. The key is to knead until the dough feels smooth and no longer sticky—a tactile cue that tells you you’ve achieved the perfect consistency.
Aromatics & Spices: The Flavor Builders
Onions and butter are the unsung heroes that add depth to the filling. When you sauté the onion until it turns a deep golden brown, it releases a sweet, caramelized aroma that complements the sweet potato’s earthiness. A dash of freshly grated nutmeg isn’t just for show; it adds a warm, almost nostalgic spice note that elevates the overall flavor profile. If you’re adventurous, a pinch of smoked paprika can introduce a subtle smokiness that pairs wonderfully with the buttery dough.
The Secret Weapons: Sweet Potato & Cheese
Choosing the right sweet potatoes is crucial. Look for firm, orange‑fleshed varieties with a smooth skin—these tend to be the sweetest and most buttery once cooked. Roast them first to develop a caramelized edge; this step adds a layer of complexity that simply boiling cannot achieve. For the cheese, traditional Polish farmer’s cheese (twaróg) offers a crumbly texture and mild tang, but if it’s unavailable, ricotta or a well‑drained cottage cheese works beautifully as a substitute. The cheese not only adds protein but also creates that melt‑in‑your‑mouth creaminess that defines a great pierogi filling.
Finishing Touches: Herbs, Salt, and Butter
Fresh chives or parsley, finely chopped, add a burst of color and a fresh, herbaceous note that cuts through the richness. A final drizzle of melted butter right before serving gives the pierogi a glossy sheen and a luxurious mouthfeel. Don’t forget to season each component—salt and pepper—because seasoning at each stage builds layers of flavor, ensuring the final dish sings with balance.
With your ingredients prepped and ready, let's get cooking. Here’s where the fun really begins—mixing, folding, and watching those little dough parcels transform into golden pockets of comfort.

🍳 Step-by-Step Instructions
Begin by preparing the dough. In a large mixing bowl, whisk together 2 cups of all‑purpose flour and ½ teaspoon of salt. Make a well in the center, then add one large egg, ½ cup of warm water, and a teaspoon of oil. Using your hands, gradually incorporate the flour into the liquid, kneading for about 8–10 minutes until the dough becomes smooth, elastic, and no longer sticky. Cover the bowl with a clean kitchen towel and let it rest for at least 15 minutes; this relaxation period allows the gluten to relax, making the dough easier to roll out later. Pro Tip: If the dough feels too dry, add a splash of water; if too wet, sprinkle a bit more flour, but keep adjustments minimal.
While the dough rests, turn your attention to the sweet potatoes. Peel two medium sweet potatoes (about 1 lb total) and cut them into even chunks. Toss the pieces with a drizzle of olive oil, a pinch of salt, and a sprinkle of ground nutmeg, then spread them on a baking sheet. Roast in a preheated oven at 400°F (200°C) for 20‑25 minutes, or until the edges are caramelized and the interior is fork‑tender. The roasting process deepens the natural sugars, giving the filling an unmistakable depth of flavor. Pro Tip: For an extra smoky note, finish the potatoes under the broiler for the last 2‑3 minutes.
When the sweet potatoes are done, transfer them to a large bowl and mash them while still hot. Add the grated cheese, ½ cup of grated Parmesan, 2 tablespoons of melted butter, and the sautéed onion (see next step). Mix until the filling is creamy, smooth, and fully combined. Season with salt, pepper, and an extra pinch of nutmeg if you like a stronger spice note. The heat from the potatoes will gently melt the cheese, creating a luscious, velvety texture that’s the hallmark of a perfect pierogi filling.
Sauté the aromatics. In a small skillet over medium heat, melt 1 tablespoon of butter and add one finely chopped small onion. Cook, stirring occasionally, until the onion turns translucent and then lightly caramelizes—about 5‑6 minutes. The sweet, mellow aroma that fills your kitchen at this stage is a signal that the flavor base is ready. Add the cooked onion to the sweet‑potato‑cheese mixture and fold gently, preserving the airy texture.
Roll out the rested dough on a lightly floured surface to a thickness of about 2 mm (roughly the size of a thin pancake). Use a round cutter—about 3‑inch diameter—to cut out circles. If you don’t have a cutter, a clean glass rim works just as well. Gather the scraps, re‑roll, and continue cutting until all the dough is used. This repetitive motion is soothing; think of it as a rhythmic meditation that prepares you for the folding ceremony.
Fill each dough circle. Place a heaping teaspoon of the sweet‑potato mixture in the center of each circle. To avoid over‑filling (which can cause bursting), keep the amount modest—just enough to see a small mound in the middle. Moisten the edges of the dough with a little water using your fingertip; this acts as a natural glue, ensuring a tight seal. Fold the dough over to form a half‑moon shape, then press the edges firmly with your fingers or a fork to crimp them. The crimp not only looks pretty but also locks in the steam that will keep the filling moist.
Cook the pierogi. Bring a large pot of salted water to a gentle boil. Carefully drop a batch of pierogi into the water—do not overcrowd the pot. When they rise to the surface (about 3‑4 minutes), let them cook an additional 2 minutes to ensure the dough is fully cooked through. Using a slotted spoon, transfer the boiled pierogi to a hot skillet with a tablespoon of butter. Sauté for 2‑3 minutes per side until they turn a beautiful golden brown and develop a crisp, buttery crust. Listen for that faint sizzle; it’s the sound of flavor being locked in.
Finish and serve. Transfer the golden pierogi to a serving platter, drizzle with a little more melted butter, and garnish with freshly chopped chives or parsley for a pop of color. A dollop of sour cream on the side adds a tangy contrast that cuts through the richness, while a sprinkle of grated Parmesan offers an additional umami boost. Serve hot, and watch as your guests dive in, their faces lighting up with the first bite. Trust me on this one: the combination of crispy exterior and silky interior is pure comfort food alchemy.
And there you have it! But before you dig in, let me share some tips that will take this from great to absolutely unforgettable…
🔐 Expert Tips for Perfect Results
The Taste Test Trick
Before sealing each pieróg, take a tiny spoonful of the filling and give it a quick taste. This tiny “taste test” ensures your seasoning is spot‑on. I once served a batch that was a shade too bland because I skipped this step, and the whole batch felt flat. A pinch more salt or a dash of pepper at this stage can make all the difference, turning a good dish into a stellar one.
Why Resting Time Matters More Than You Think
Letting the dough rest for at least 15 minutes isn’t just a suggestion; it’s essential. The rest period relaxes the gluten strands, making the dough easier to roll thin without tearing. I’ve seen novices try to roll the dough immediately and end up with uneven circles that rip when filled. Patience here saves you from frustration later on.
The Seasoning Secret Pros Won’t Tell You
Professional chefs often add a pinch of sugar to the dough. This tiny amount balances the salt and enhances the browning of the crust during sautéing, giving the pierogi a subtle caramel note. It’s a secret that doesn’t overpower the sweet potato flavor but adds a whisper of complexity that most home cooks miss.
Butter Bath for a Luminous Finish
When you finish sautéing, toss the pierogi in a quick “butter bath” of melted butter, a splash of cream, and a pinch of fresh herbs. This technique coats each piece with a glossy sheen and infuses an extra layer of richness that makes the pierogi feel restaurant‑quality. I’ve used this method for holiday parties, and guests always comment on the “shiny” appearance.
Freezing Without Sacrificing Texture
If you want to make a big batch ahead of time, freeze the uncooked, sealed pierogi on a parchment‑lined tray. Once solid, transfer them to a zip‑top bag. When you’re ready to cook, you can drop them straight into boiling water—no thawing required. This method keeps the dough from becoming gummy and preserves the delicate texture of the filling.
🌈 Delicious Variations to Try
One of my favorite things about this recipe is how versatile it is. Here are some twists I’ve tried and loved:
Maple‑Glazed Bacon Pierogi
Add crisp‑cooked bacon bits and a drizzle of pure maple syrup to the filling. The salty‑sweet combination elevates the sweet potato’s natural sweetness and introduces a smoky depth that’s perfect for brunch.
Herb‑Infused Goat Cheese
Swap the farmer’s cheese for creamy goat cheese mixed with fresh thyme and rosemary. The tangy goat adds a sophisticated note, while the herbs brighten the overall flavor profile, making it a great option for a dinner party.
Spicy Jalapeño & Cheddar
For a kick, fold in finely diced jalapeños and sharp cheddar into the sweet‑potato base. The heat contrasts beautifully with the sweet base, and the cheddar melts into gooey pockets of deliciousness.
Apple‑Cinnamon Dessert Pierogi
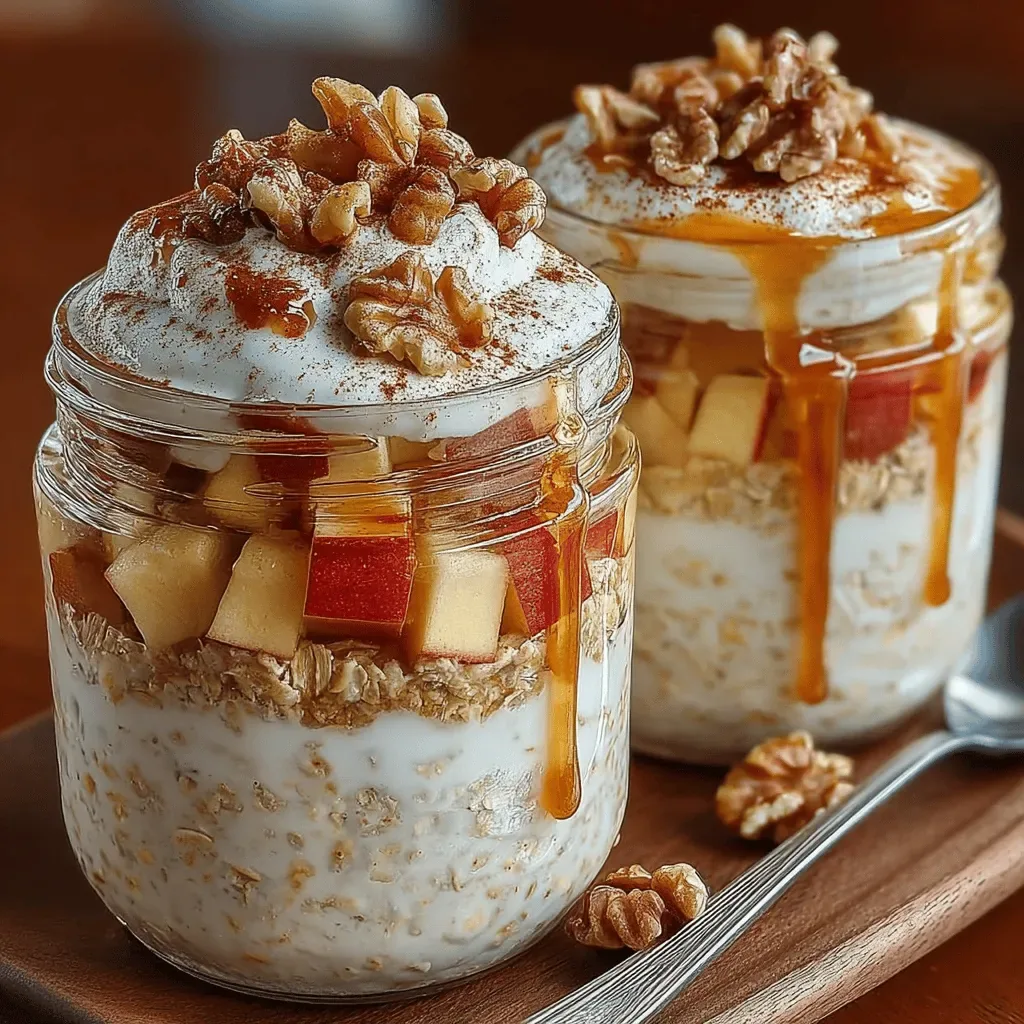
Turn this into a dessert by mixing cooked, diced apples with cinnamon, a touch of brown sugar, and a dollop of ricotta. Serve with a dusting of powdered sugar and a drizzle of caramel sauce for a sweet treat that still feels familiar.
Mushroom & Truffle Oil
Sauté wild mushrooms with a splash of truffle oil and fold them into the filling. The earthy mushrooms complement the sweet potato, while the truffle oil adds an indulgent aroma that makes the dish feel upscale.
Vegan Coconut‑Cream Version
Replace the cheese with a blend of coconut cream, nutritional yeast, and a pinch of turmeric for color. Use a flax‑egg as a binder in the dough, and you have a fully vegan pierogi that still delivers on creaminess and flavor.
📦 Storage & Reheating Tips
Refrigerator Storage
Store cooked pierogi in an airtight container lined with parchment paper. They’ll stay fresh for up to 3 days. To keep the crust from getting soggy, place a paper towel on top before sealing the lid. This absorbs excess moisture and preserves that delightful crispness.
Freezing Instructions
For longer storage, freeze uncooked, sealed pierogi on a tray as described earlier. Once frozen solid, transfer them to a zip‑top freezer bag, removing as much air as possible. They’ll keep for up to 2 months without loss of flavor or texture. When you’re ready to serve, simply boil or steam them straight from the freezer.
Reheating Methods
To reheat, the best method is a quick pan‑fry: melt a tablespoon of butter in a skillet over medium heat, add the pierogi, and cook until both sides are golden and the interior is heated through. If you prefer a softer texture, steam them for 5 minutes, then finish with a brief sauté for that crispy edge. The trick to reheating without drying it out? Add a splash of water or broth to the pan and cover for a minute; the steam revives the filling’s moisture.