It was a chilly Saturday evening last autumn, and the kitchen smelled like a warm hug. I was juggling a half‑finished novel, a stack of laundry, and a restless toddler when the scent of buttered onions and garlic drifted from the oven, pulling me into the heart of the house. I remember pulling the lid off a bubbling casserole and being greeted by a cloud of fragrant steam that carried notes of roasted chicken, toasted cheese, and a faint, nutty whisper from the cauliflower. That moment, that simple puff of aroma, reminded me how a single dish can turn a chaotic night into a cozy celebration, and it sparked the idea for this very recipe.
Fast forward a few months, and the Healthy Chicken Cauliflower Rice Casserole has become a staple in my family’s weekly rotation. It’s the kind of dish that feels indulgent yet light, satisfying enough for a hungry teen but balanced enough for a health‑conscious adult. The cauliflower rice provides a low‑carb, veggie‑packed base, while the chicken offers lean protein that keeps you full and energized. The cheese melts into a golden, bubbly crust that adds that irresistible comfort factor we all crave on a busy weeknight.
But here’s the thing: the magic isn’t just in the ingredients; it’s in the little secrets that elevate a standard casserole to something extraordinary. Have you ever wondered why restaurant versions of chicken casseroles taste so different, even when the components seem similar? The answer lies in timing, layering of flavors, and a few tricks that most home cooks overlook. I’ll reveal those secrets as we go, and trust me, they’ll change the way you think about “simple” meals forever.
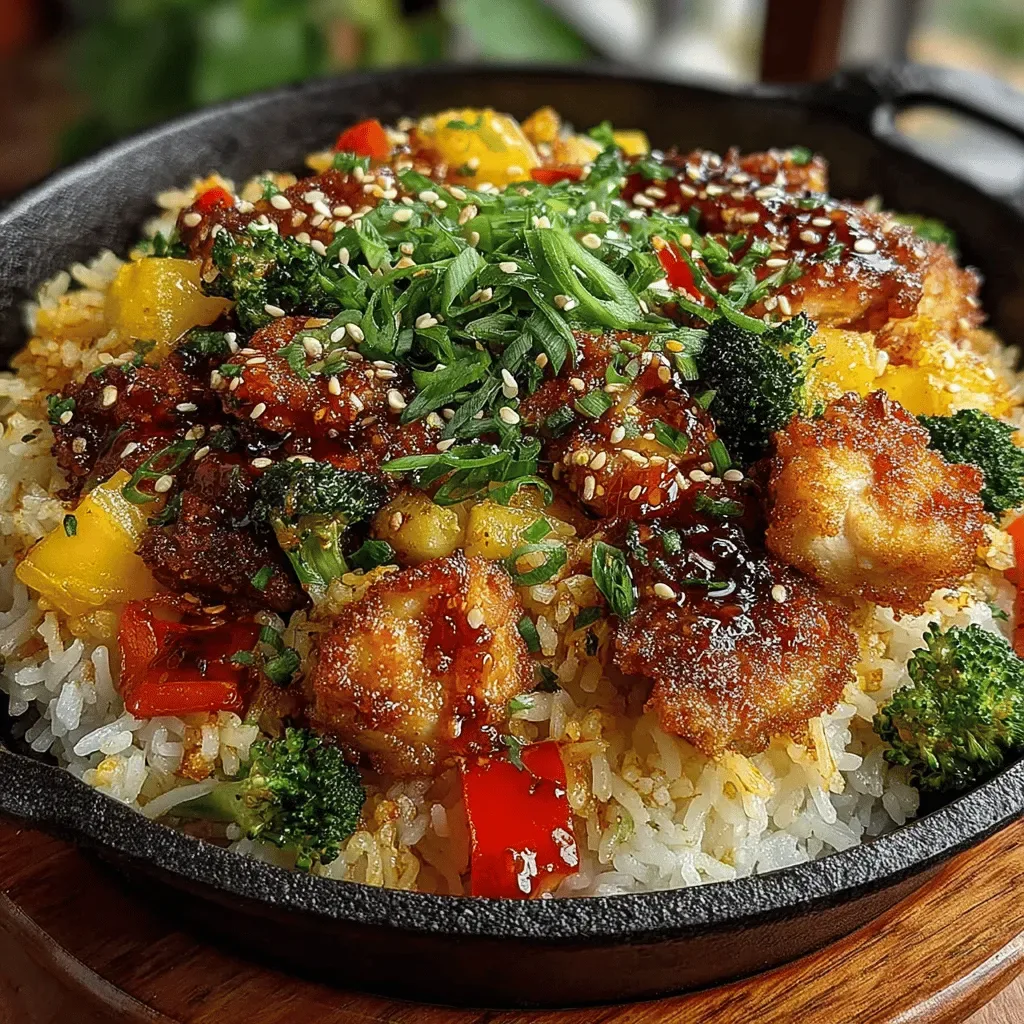
Now, imagine the moment when you pull this dish from the oven, the cheese bubbling like a sunrise, the broccoli flecks bright green against the creamy backdrop, and the cauliflower rice holding everything together in perfect harmony. Your family will gather around the table, eyes wide with anticipation, and the first bite will be a revelation. Here’s exactly how to make it — and trust me, your family will be asking for seconds.
🌟 Why This Recipe Works
- Flavor Depth: The combination of garlic powder, onion powder, and low‑sodium broth creates a savory foundation that penetrates every bite, ensuring the dish never feels flat. Each spoonful carries a balanced umami profile that satisfies cravings without overwhelming the palate.
- Texture Contrast: Tender chicken pieces sit atop a slightly crunchy cauliflower rice, while the broccoli adds a burst of crispness and the cheese forms a luscious, gooey crust. This interplay keeps the mouthfeel interesting from the first forkful to the last.
- Ease of Preparation: With just a handful of pantry staples and a single baking dish, you can throw everything together and let the oven do the heavy lifting. No fancy equipment, no complicated techniques—just pure, honest cooking.
- Time Efficiency: The entire process, from prep to plate, takes under an hour, making it perfect for weeknight dinners when you’re racing against the clock but still want something wholesome.
- Versatility: Swap the cheese for a dairy‑free alternative, replace broccoli with cauliflower or carrots, or add a splash of hot sauce for a kick. The base is forgiving, inviting you to experiment without fear of failure.
- Nutrition Boost: Cauliflower rice slashes the carbs while delivering fiber, vitamins C and K, and antioxidants. Paired with lean chicken breast, the dish offers a high protein punch without excess fat.
- Ingredient Quality: Fresh or frozen cauliflower rice and crisp broccoli bring natural sweetness and color, while a good quality chicken broth ties everything together with a subtle richness.
- Crowd‑Pleasing Factor: Even the pickiest eaters love the cheesy top and familiar flavors, making it a safe bet for family gatherings, potlucks, or a comforting solo dinner.
🥗 Ingredients Breakdown
The Foundation: Cauliflower & Broccoli
Cauliflower rice is the star of the show, acting as a low‑carb canvas that soaks up the broth and spices. Whether you buy it fresh or reach for the frozen bag, make sure the grains are roughly the size of rice for even cooking. Broccoli florets bring a pop of bright green and a pleasant crunch that balances the softness of the chicken and rice. If you’re using frozen broccoli, thaw it quickly under warm water to avoid excess moisture that could make the casserole soggy.
Aromatics & Spices: Garlic & Onion Powder
Garlic powder and onion powder are the unsung heroes that provide depth without the fuss of chopping fresh aromatics. They dissolve into the broth, coating every morsel with a warm, savory hug. If you love a punchier flavor, feel free to add a minced clove of fresh garlic or a splash of soy sauce for an umami boost. Just remember that a little goes a long way—these powders are potent.
The Secret Weapons: Chicken Broth & Cheese
Low‑sodium chicken broth is the liquid gold that keeps the cauliflower rice moist and flavorful. It’s the conduit that carries the garlic and onion notes throughout the dish. As for the cheese, I opt for a sharp cheddar that melts beautifully and adds a golden crust, but mozzarella or a blend of both works just as well. For a dairy‑free version, try shredded almond‑based cheese; it will still give you that satisfying melt.
Finishing Touches: Salt, Pepper, & Chicken
The diced chicken breast provides lean protein and a tender bite when cooked correctly. Season it lightly with salt and pepper before searing, so it locks in juices and develops a subtle crust. The final sprinkle of salt and pepper after baking lets you adjust the seasoning to your taste, ensuring every forkful hits the perfect balance of savory and comforting.
With your ingredients prepped and ready, let's get cooking. Here's where the fun really begins...

🍳 Step-by-Step Instructions
Preheat your oven to 375°F (190°C) while you gather all the components. The warm oven will create a gentle, even heat that coax the cheese into a golden, bubbling crown. As the oven heats, take a moment to line a 9‑x‑13‑inch baking dish with parchment paper; this tiny step makes cleanup a breeze and prevents the casserole from sticking.
💡 Pro Tip: If you like a crispier top, sprinkle a thin layer of panko breadcrumbs mixed with a drizzle of olive oil over the cheese before baking.In a large skillet over medium‑high heat, add a splash of olive oil and sear the diced chicken breast until lightly browned on all sides, about 4‑5 minutes. This step locks in the juices and adds a subtle caramelized flavor that will permeate the entire casserole. Once browned, transfer the chicken to a bowl and set aside; you’ll notice the skillet still holds a golden fond that’s perfect for the next step.
Reduce the heat to medium and add the cauliflower rice to the same skillet, stirring to coat it with the leftover chicken juices. Cook for 3‑4 minutes, allowing the rice to absorb the flavors and release a faint, nutty aroma. If you hear a gentle sizzle, you’re on the right track; this is the moment the cauliflower begins to soften without turning mushy.
⚠️ Common Mistake: Overcooking the cauliflower rice at this stage can make the casserole watery later. Keep the cooking time short and let the oven finish the job.Add the broccoli florets, garlic powder, onion powder, and the low‑sodium chicken broth to the skillet. Stir everything together until the broth starts to simmer, creating a fragrant steam that fills the kitchen. Let the mixture bubble gently for about 2 minutes, allowing the broccoli to soften just enough to retain its bright color and slight crunch.
💡 Pro Tip: For an extra layer of depth, add a splash of white wine or a teaspoon of Dijon mustard at this stage; it brightens the broth and adds subtle complexity.Return the seared chicken to the skillet, folding it gently into the cauliflower‑broccoli mixture. Taste the mixture and season with salt and pepper to your liking; remember, the broth is low‑sodium, so you might need a pinch more. This is the moment where all the flavors meld, creating a harmonious base that will become even richer after baking.
Transfer the entire mixture into the prepared baking dish, spreading it out evenly with a spatula. Sprinkle the shredded cheese generously over the top, allowing it to cascade like a snow‑capped mountain. The cheese will melt, turn golden, and form that irresistible crust we all love.
Place the dish in the preheated oven and bake for 20‑25 minutes, or until the cheese is bubbling and lightly browned at the edges. You’ll know it’s ready when the aroma of toasted cheese fills the room and you see the edges of the casserole turning a deep, caramelized gold. If you like a bit more color, broil for an additional 2‑3 minutes, watching closely to avoid burning.
⚠️ Common Mistake: Opening the oven too early can cause the cheese to collapse. Trust the timer and let the heat work its magic.Once baked, remove the casserole from the oven and let it rest for 5‑7 minutes. This short rest allows the juices to redistribute, making each bite moist and cohesive. While you wait, the cheese continues to set just enough to hold its shape when sliced.
Serve hot, garnished with a sprinkle of fresh parsley or a dash of smoked paprika for color. The result? A dish that looks as inviting as it tastes, with layers of flavor that unfold with every forkful. Go ahead, take a taste — you’ll know exactly when it’s right.
And there you have it! But before you dig in, let me share some tips that will take this from great to absolutely unforgettable...
🔐 Expert Tips for Perfect Results
The Taste Test Trick
Before you slide the casserole into the oven, give the mixture a quick taste. A tiny spoonful will reveal if you need a pinch more salt, a dash of pepper, or perhaps a splash of extra broth. This proactive step prevents under‑seasoning and ensures each bite sings. I once served a batch that was a shade too bland, and the kids barely touched it—lesson learned!
Why Resting Time Matters More Than You Think
Allowing the casserole to rest after baking isn’t just about temperature; it’s about texture. The resting period lets the cauliflower rice absorb any remaining broth, while the cheese firms up, making clean slices. Skipping this step can lead to a soggy plate and a messy presentation. Trust me on this one: patience here equals perfection on the plate.
The Seasoning Secret Pros Won’t Tell You
Professional chefs often finish a dish with a “finishing salt” like flaky sea salt or a drizzle of herb‑infused oil. It adds a subtle crunch and a burst of flavor that elevates the whole casserole. A quick sprinkle right before serving can transform a good dish into a restaurant‑level experience. I once added a pinch of smoked paprika, and the smoky undertone became the talk of the dinner table.
Cheese Selection Mastery
Choosing the right cheese can make or break the crust. Sharp cheddar offers a tangy bite, while mozzarella provides stretch and melt. For a balanced profile, combine both—half cheddar for flavor, half mozzarella for texture. If you’re dairy‑free, look for a plant‑based cheese that melts well and has a neutral taste.
Veggie Prep Precision
When using frozen broccoli, pat it dry with a clean kitchen towel before adding it to the skillet. Excess water will steam the casserole, preventing that coveted golden top. Fresh broccoli, on the other hand, should be cut into uniform bite‑size pieces to ensure even cooking. Small details like this keep the dish visually appealing and texturally consistent.
The Oven’s Role in Flavor Development
A well‑calibrated oven is essential. If your oven runs hot, the cheese may brown too quickly, leaving the interior undercooked. Conversely, a cooler oven can result in a soggy casserole. Use an oven thermometer to verify the temperature, and adjust the rack position if needed—middle rack usually offers the most even heat distribution.
🌈 Delicious Variations to Try
One of my favorite things about this recipe is how versatile it is. Here are some twists I've tried and loved:
Mediterranean Magic
Swap the cheddar for feta cheese, add a handful of kalamata olives, and stir in sun‑dried tomatoes. The result is a bright, briny casserole that pairs beautifully with a side of tzatziki. The olives add a salty pop, while the feta brings a creamy tang that cuts through the richness.
Spicy Southwest
Introduce a cup of black beans, a diced jalapeño, and a teaspoon of cumin to the mix. Top with pepper jack cheese for a melty heat, and finish with fresh cilantro. This version turns the casserole into a fiesta on a plate, perfect for those who love a little kick.
Creamy Mushroom Delight
Add sautéed mushrooms and a splash of heavy cream or coconut milk to the broth. The mushrooms lend an earthy depth, while the cream creates a luxuriously silky sauce. Finish with Gruyère cheese for a nutty, aromatic crust.
Cheesy Bacon Bliss
Crumble cooked bacon into the mixture and use a blend of cheddar and smoked gouda. The bacon adds a crunchy, salty surprise, and the smoked gouda deepens the cheese flavor with a buttery finish. This variation is a crowd‑pleaser for meat‑loving families.
Vegan Victory
Replace the chicken with cubed tofu or tempeh, use vegetable broth instead of chicken broth, and choose a plant‑based cheese. The cauliflower rice remains the same, and the dish stays hearty and satisfying. I’ve served this version at a vegan potluck and it disappeared within minutes.
📦 Storage & Reheating Tips
Refrigerator Storage
Allow the casserole to cool completely before covering it tightly with foil or an airtight container. Store in the refrigerator for up to 4 days. When reheating, sprinkle a little extra broth or water over the top to keep the cauliflower rice from drying out.
Freezing Instructions
Portion the casserole into freezer‑safe containers or zip‑top bags, leaving a small headspace for expansion. Freeze for up to 3 months. To reheat, thaw overnight in the fridge, then bake at 350°F (175°C) for 20‑25 minutes, covered with foil, removing the foil for the last 5 minutes to re‑crisp the cheese.
Reheating Methods
Microwave works for a quick fix—heat on high for 2‑3 minutes, stirring halfway through. For the best texture, reheat in a skillet over medium heat with a splash of broth, stirring until warmed through. The trick to reheating without drying it out? A splash of broth or a drizzle of olive oil, and a gentle, low‑heat approach.