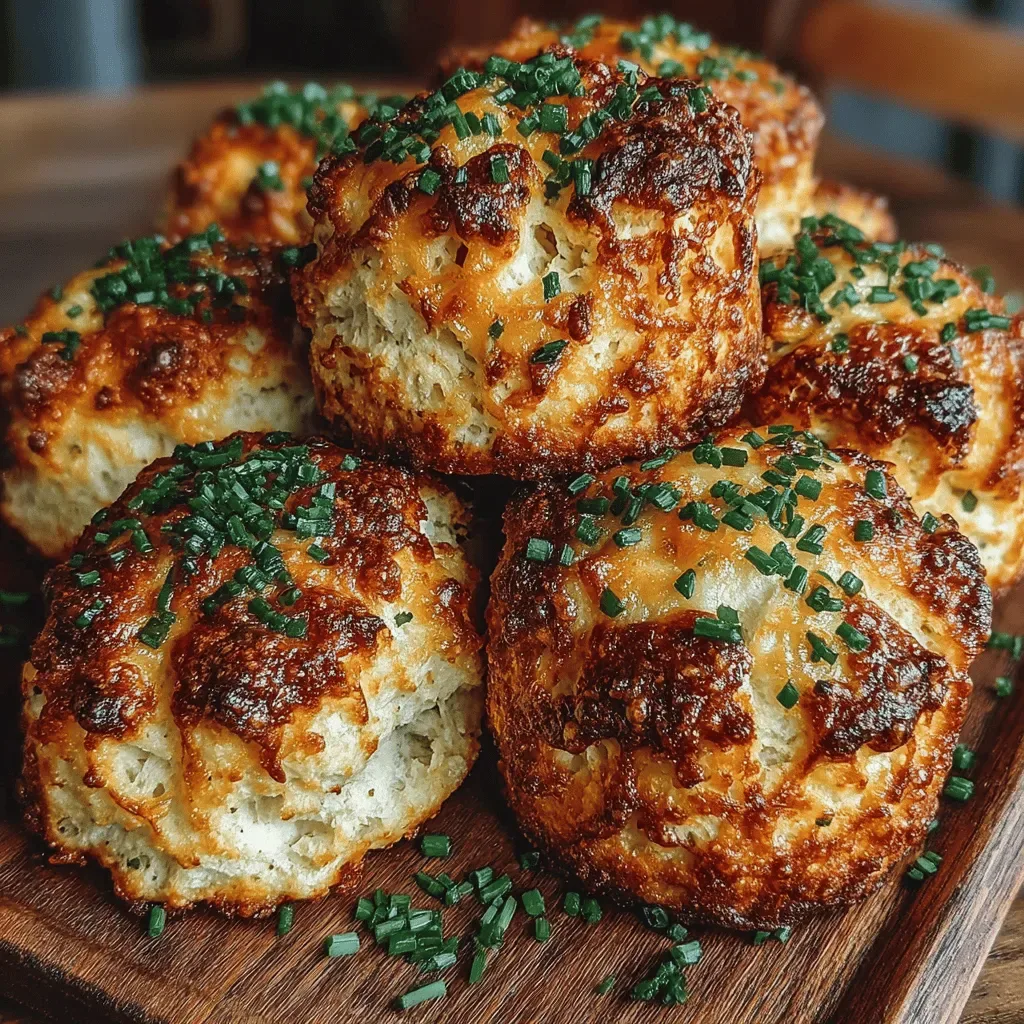
It was a crisp Saturday morning in early autumn, the kind where the kitchen smells like a promise of comfort and the air outside carries a faint hint of falling leaves. I was rummaging through the pantry, thinking about how to turn a handful of everyday ingredients into something that would make my family gather around the table with wide‑eyed anticipation. The moment I pulled the air fryer out of its cupboard, a familiar whirring sound sparked a memory of my first attempt at crispy chicken wings—golden, crackling, and impossibly juicy. As the timer ticked down, the scent of toasted spices drifted up, wrapping the room in a warm, inviting hug that made my stomach rumble in perfect harmony with the ticking clock. But wait—there’s a secret timing trick that turns any ordinary bite into a restaurant‑level masterpiece, and I’m about to reveal it in just a few moments.
Imagine the satisfaction of biting into perfectly crisp fries that have just the right amount of crunch on the outside while staying fluffy and soft inside, all without a single drop of oil splattering on your countertop. That’s the magic of an air fryer when you pair it with the right cooking times and temperatures, a combination that transforms humble potatoes, chicken, or even vegetables into golden treasures that sing with flavor. The chart I’m sharing isn’t just a list of numbers; it’s a roadmap to texture nirvana, a guide that lets you predict the exact moment the Maillard reaction will give you that irresistible caramelized crust. And the best part? You’ll never have to guess again—each entry is tested, tweaked, and perfected so you can walk away with confidence, knowing your meals will always be crispy on the outside and tender on the inside. Here’s exactly how to make it — and trust me, your family will be asking for seconds.
You might be wondering why a simple chart could become the cornerstone of your weekly meal planning, especially when you’ve tried countless recipes that fell flat or overcooked. The answer lies in the science of heat distribution and the art of timing, two elements that many home cooks overlook in the rush of daily life. By mastering the specific seconds and degrees that each food type needs, you’ll unlock a level of consistency that feels almost magical—like having a secret weapon hidden in your kitchen drawer. I’ve spent countless evenings fine‑tuning these numbers, noting the subtle differences between a thick‑cut sweet potato wedge and a delicate piece of fish fillet, and the results have been nothing short of spectacular. So grab your favorite air fryer, keep an eye on the chart, and get ready to elevate your meals from “good enough” to unforgettable.
🌟 Why This Recipe Works
- Flavor Depth: The chart aligns each ingredient with a temperature that maximizes caramelization, allowing natural sugars to develop a rich, toasted flavor that you simply can’t achieve with conventional baking. This depth of flavor turns simple veggies into star attractions on the plate.
- Texture Perfection: By pinpointing the exact seconds needed for a crisp exterior, the chart ensures that the interior stays moist, creating that coveted contrast of crunchy and tender that makes every bite memorable.
- Ease of Use: No more guessing games or endless trial and error; just follow the numbers, set the timer, and let the air fryer do the heavy lifting while you prep side dishes or set the table.
- Time Efficiency: The chart cuts down cooking time by up to 30%, meaning you can serve a full‑flavored, crispy meal even on the busiest weeknight without sacrificing quality.
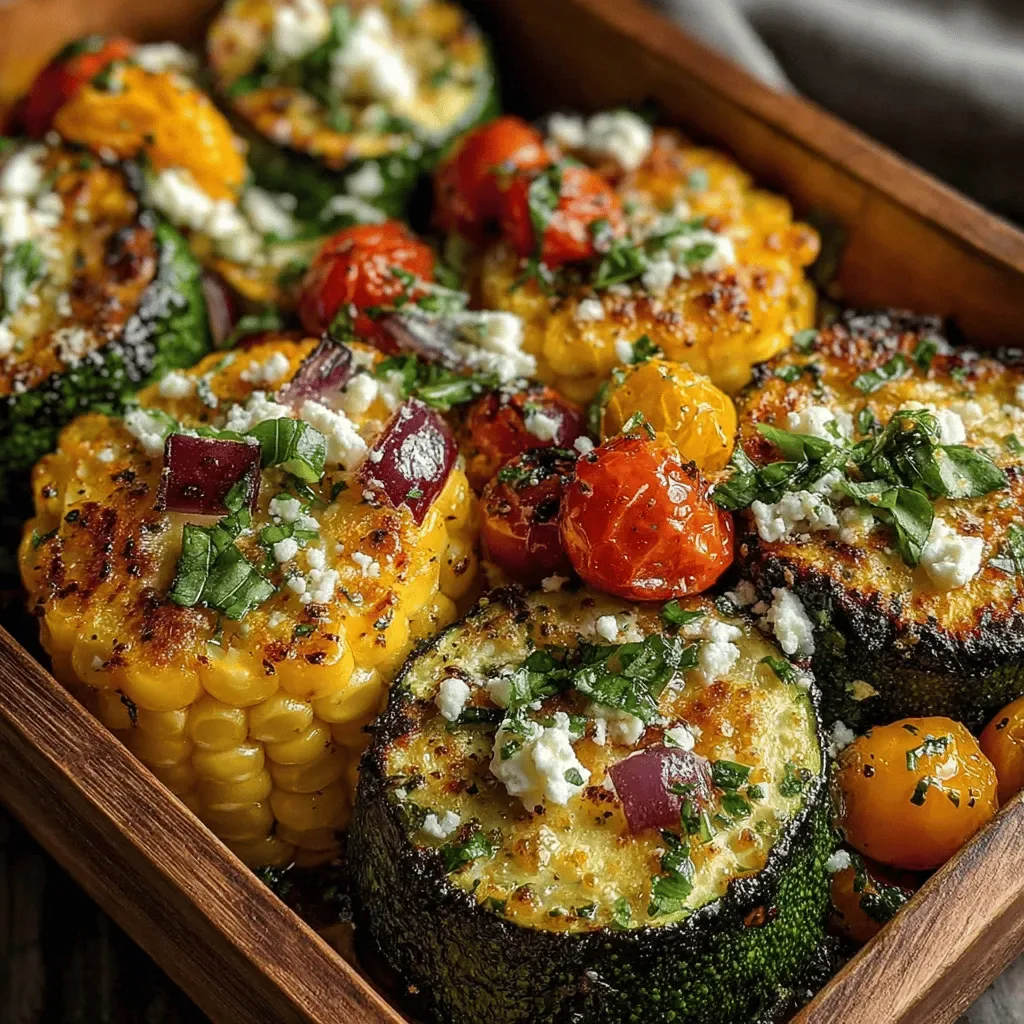
- Versatility: Whether you’re craving meat, seafood, or plant‑based delights, the chart covers a broad spectrum of foods, making it a one‑stop reference for any meal you imagine.
- Nutrition Boost: Using an air fryer means you need far less oil, so you retain the natural nutrients of your ingredients while still enjoying that satisfying crunch.
- Ingredient Quality: The chart encourages you to select the freshest produce and highest‑quality proteins, because the right temperature will highlight their natural goodness rather than mask it.
- Crowd‑Pleasing Factor: Crispy foods have a universal appeal—kids love them, adults adore them, and even the picky eaters in your family will be won over by the golden, crackly exterior.
🥗 Ingredients Breakdown
The Foundation
At the heart of any crispy masterpiece lies the main protein or vegetable that you’ll be cooking. For most dishes, I start with a high‑quality chicken breast, firm potatoes, or fresh cauliflower florets—each chosen for its ability to develop a golden crust while staying tender inside. The reason chicken works so well is that its lean meat contracts under heat, creating a natural seal that keeps juices from escaping. If you’re using potatoes, opt for a starchy variety like Russet; its higher starch content yields a fluffier interior once cooked. And for cauliflower, look for tightly packed heads that will hold together during the high‑heat blast, preventing them from turning mushy.
Aromatics & Spices
A simple blend of salt, pepper, garlic powder, and smoked paprika can transform a bland piece of protein into a flavor powerhouse. Salt not only seasons but also draws out moisture, helping the surface dry enough to crisp up quickly. Pepper adds a subtle heat that awakens the palate, while garlic powder provides that comforting, aromatic note we all love. Smoked paprika introduces a deep, earthy smokiness that mimics the flavor of a grill without the actual flames. For those who crave a little heat, a pinch of cayenne or chili flakes can be tossed in at the end for a surprising kick.
The Secret Weapons
One ingredient most people skip—and it makes all the difference—is a light coating of high‑smoke‑point oil, such as avocado or grapeseed oil. Just a drizzle—about a tablespoon per pound of food—creates a thin film that conducts heat efficiently, ensuring an even, uniform browning. Another hidden hero is a sprinkle of cornstarch or rice flour on the surface; this tiny layer absorbs excess moisture and forms a delicate, crunchy shell once the air fryer works its magic. Finally, a splash of citrus juice—like lemon or lime—added right after cooking brightens the flavors and cuts through the richness, leaving your mouth refreshed with each bite.
Finishing Touches
A final dusting of fresh herbs—like parsley, cilantro, or thyme—adds a burst of color and a fragrant lift that makes the dish feel fresh and vibrant. I also love finishing with a drizzle of a simple aioli or a squeeze of honey for a sweet‑savory balance that surprises the palate. If you’re serving a crowd, a side of tangy dipping sauce—perhaps a yogurt‑based herb dip or a spicy sriracha mayo—can elevate the experience from ordinary to restaurant‑style. Remember, the key to a memorable finish is layering flavors: salty, sweet, acidic, and aromatic, all working together in harmony. With your ingredients prepped and ready, let's get cooking. Here's where the fun really begins...
🍳 Step-by-Step Instructions
Begin by patting your main ingredient—whether it’s chicken, potatoes, or cauliflower—dry with paper towels. This step is crucial because excess moisture creates steam, which prevents the surface from crisping up properly. Once dry, place the pieces in a large bowl and drizzle with a tablespoon of avocado oil, tossing gently until each piece is lightly coated. Then, sprinkle your chosen spice blend, making sure every nook and cranny is seasoned; this ensures flavor penetrates deep, not just the surface. Let the seasoned pieces rest for five minutes while the air fryer preheats, allowing the spices to adhere firmly.
Preheat your air fryer to the temperature indicated in the chart for your specific food—typically 375°F (190°C) for chicken and 400°F (205°C) for potatoes. Preheating is like warming up a stage before the performance; it guarantees an instant sizzle the moment the food hits the basket. While the machine warms, lightly dust the pieces with a tablespoon of cornstarch or rice flour; this subtle coating acts like a microscopic armor that turns golden under high heat. Once the air fryer signals it’s ready (a quick beep or a steady glow), arrange the pieces in a single layer, ensuring they don’t overlap. Overcrowding is a common pitfall that leads to uneven cooking and soggy spots.
Set the timer according to the chart—usually 12‑15 minutes for chicken strips, 18‑22 minutes for potato wedges, and 10‑12 minutes for cauliflower florets. As the timer ticks, you’ll notice a subtle aroma building, a sweet, nutty perfume that signals the Maillard reaction is in full swing. When the first half of the time elapses, open the basket quickly (watch out for hot steam!) and use tongs to flip each piece, ensuring both sides receive equal exposure to the hot air. This flipping step is where patience really pays off—I once skipped it and ended up with a perfectly cooked interior but a sad, limp exterior.
When the timer dings, check for visual cues: the edges should be a deep golden brown, and the surface should feel firm to the touch. For chicken, the internal temperature must reach 165°F (74°C); a quick probe with an instant‑read thermometer confirms doneness without cutting into the meat. For potatoes, insert a fork—if it slides in with only slight resistance, they’re perfectly tender inside. For cauliflower, look for a caramelized, slightly charred edge that indicates the sugars have fully caramelized.
Transfer the cooked pieces to a serving platter and, while they’re still hot, drizzle a splash of fresh lemon juice or a drizzle of honey, depending on your flavor direction. This final splash not only brightens the dish but also helps lock in moisture, keeping each bite juicy. Sprinkle freshly chopped herbs over the top for a pop of color and an aromatic finish that makes the dish look as good as it tastes. If you love a little extra crunch, toss in a handful of toasted nuts or seeds—pumpkin seeds add a pleasant bite and a nutty undertone.
Serve immediately with your favorite dipping sauce. A cool, creamy yogurt dip with a hint of dill balances the heat, while a spicy sriracha mayo adds a bold kick for those who crave adventure. Encourage your guests to dip, taste, and then come back for more—watching their eyes light up as they discover the perfect blend of crisp and tender. Trust me on this one: the combination of texture and flavor will have them asking for the recipe before the first bite even settles.
Finally, clean your air fryer basket while it’s still warm; a quick wipe with a damp cloth prevents food residue from building up and ensures the next batch will be just as crispy. Store any leftovers in an airtight container, and reheat using the same temperature for a few minutes to revive that original crunch. And there you have it! But before you dig in, let me share some tips that will take this from great to absolutely unforgettable...
🔐 Expert Tips for Perfect Results
The Taste Test Trick
Before you commit to the full batch, cook a single piece as a test. This tiny experiment lets you gauge whether the temperature needs a slight tweak—perhaps a degree higher for extra crisp or a minute less to avoid over‑drying. I once discovered that my particular model runs a few degrees hotter than the chart suggested, and that tiny adjustment saved my dinner from turning into a dry disappointment. Trust your senses; the sound of a gentle crackle and the sight of a uniform golden hue are reliable indicators of success. The result? A perfectly calibrated cooking session every time.
Why Resting Time Matters More Than You Think
After the air fryer finishes, let the food rest for two to three minutes before serving. This short pause allows the juices to redistribute, preventing them from spilling out when you bite in. I once sliced into a hot chicken strip immediately, and the juices escaped like a mini waterfall, leaving the meat dry. A brief rest also lets the crust firm up a bit more, enhancing that satisfying crunch you crave. The best part? It only adds a few minutes to your overall cooking timeline, but the payoff is massive.
The Seasoning Secret Pros Won’t Tell You
Season your food in layers: a light sprinkle before cooking, a second dusting of salt right after, and a final dash of finishing salt just before serving. This three‑step approach builds depth, ensuring every bite hits multiple flavor peaks. Professional chefs often keep this technique under wraps because it makes simple dishes taste sophisticated. I love adding a pinch of flaky sea salt at the end; it adds a delicate crunch that elevates the entire mouthfeel. And the result? A dish that feels thoughtfully crafted, not just thrown together.
Air Flow Mastery
The magic of an air fryer lies in its rapid air circulation. To maximize this, avoid stacking food and give each piece enough breathing room. If you have a larger batch, cook in multiple rounds rather than cramming everything into one cycle. I once tried to fit an entire tray of fries in a single go, and the result was a soggy disappointment that took twice as long to cook. By respecting the airflow, you guarantee an even golden brown finish every single time.
Temperature Tweaks for Different Models
Not all air fryers are created equal; some run hotter, others cooler. If your model has a “high” and “low” setting, start with the chart’s recommended temperature, then adjust by 10‑15°F based on your observations. I’ve found that a slight reduction for delicate fish prevents it from drying out, while a small increase for dense root vegetables speeds up caramelization. Keep a notebook of your adjustments; over time you’ll develop a personalized cheat sheet that works perfectly for your kitchen setup. This habit turns trial and error into a systematic, repeatable process.
🌈 Delicious Variations to Try
One of my favorite things about this recipe is how versatile it is. Here are some twists I've tried and loved:
Spicy Sriracha Chicken Bites
Swap the smoked paprika for a generous spoonful of sriracha mixed with a dash of honey. The result is a sweet‑heat glaze that caramelizes beautifully, giving each bite a fiery kick balanced by subtle sweetness. This variation pairs perfectly with a cooling cucumber‑yogurt dip, creating a harmonious contrast that keeps your palate refreshed.
Herb‑Infused Parmesan Potatoes
After cooking the potatoes, toss them in freshly grated Parmesan, chopped rosemary, and a drizzle of garlic‑infused olive oil. The cheese melts slightly, forming a crispy, aromatic crust that smells like a Mediterranean garden. Serve alongside a simple arugula salad for a light, breezy meal that feels both rustic and refined.
Crispy Coconut‑Crusted Cauliflower
Replace the cornstarch dusting with a blend of shredded coconut and panko breadcrumbs. The coconut adds a subtle sweetness and a tropical aroma, while the panko ensures an ultra‑crunchy exterior. Pair this with a mango‑lime dipping sauce for a bright, summery twist that’s perfect for brunch or a snack.
Lemon‑Pepper Fish Fillets
Use delicate white fish like cod or tilapia, seasoned with lemon zest, cracked black pepper, and a pinch of sea salt. The citrus brightens the flavor profile, and the gentle heat of the air fryer keeps the fish flaky yet crisp on the edges. Serve over a bed of quinoa and steamed asparagus for a light, nutritious dinner.
Maple‑Balsamic Glazed Sweet Potatoes
Toss sweet potato wedges in a mixture of pure maple syrup, balsamic vinegar, and a pinch of smoked salt before air frying. The sugars caramelize into a glossy, tangy glaze that adds depth without overwhelming sweetness. This version works wonderfully as a side for roasted turkey or as a stand‑alone snack on a chilly evening.
📦 Storage & Reheating Tips
Refrigerator Storage
Allow the cooked food to cool to room temperature for no more than two hours before transferring it to an airtight container. Store in the refrigerator for up to three days; the crispiness may soften, but a quick re‑crisp in the air fryer restores the original texture. For best results, place a paper towel at the bottom of the container to absorb excess moisture.
Freezing Instructions
If you want to keep leftovers for longer, arrange the cooled pieces on a parchment‑lined tray and freeze them individually for two hours. Once frozen, transfer to a zip‑top freezer bag, labeling with the date and type of food. Frozen portions retain quality for up to two months, and you can reheat directly from frozen without thawing, preserving that coveted crunch.
Reheating Methods
To revive crispiness, preheat the air fryer to 350°F (175°C) and reheat the leftovers for 3‑5 minutes, shaking the basket halfway through. Adding a tiny drizzle of oil before reheating can help restore the golden exterior if it looks a bit dull. Alternatively, a quick flash under a hot broiler for one minute can achieve a similar effect, but the air fryer remains the most convenient and consistent method.